How to change your tyre: Our quick and easy step-by-step guide for roadside or at-home repairs
Changing a tyre can seem intimidating but it is a great thing to know how to do when you are:
- On your way to your parents for your roast dinner and you have driven over extremely sharp Christmas holly / a giant glass light up Santa that has found its way onto the motorway
- You get a pesky puncture on the road to the airport on your trip to sunny Mallorca with the kids – already late – despite your partner insisting you needed to leave five hours earlier.
- Suddenly ambushed by the world’s angriest runaway supermarket trolley, which has built up enough momentum to wreck your tyre.
Hopefully, you are not suffering one of these totally plausible catastrophes but if you have, we have created a step-by-step guide to changing your tyre.
When should you change your tyre?
Even if you haven’t experienced a puncture or roadside drama, there are several other important times when your tyres should be replaced. Keeping an eye on these signs helps keep you safe, improves your car’s handling, and prevents costly issues down the line.
You should change your tyres under the following circumstances:
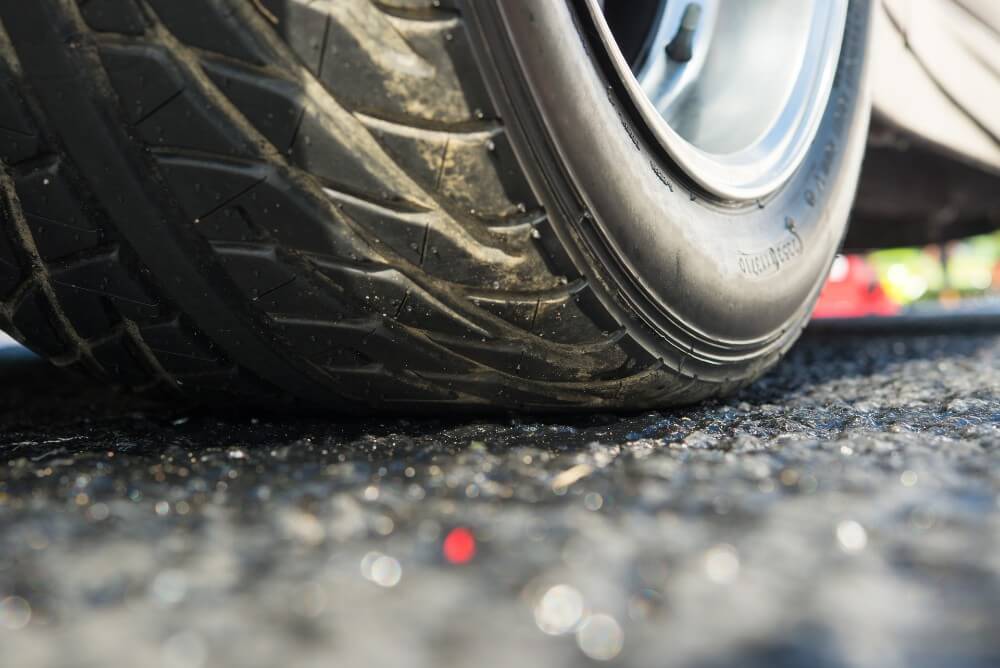
- If your tyre tread depth is below minimum: The minimum legal tread depth is 1.6mm across the central three-quarters of the tyre and around its entire circumference. An easy way to check this is with a 20p coin – if you can still see the outer band when the coin is placed in the tread, your tyre may be close to or already below the legal limit.
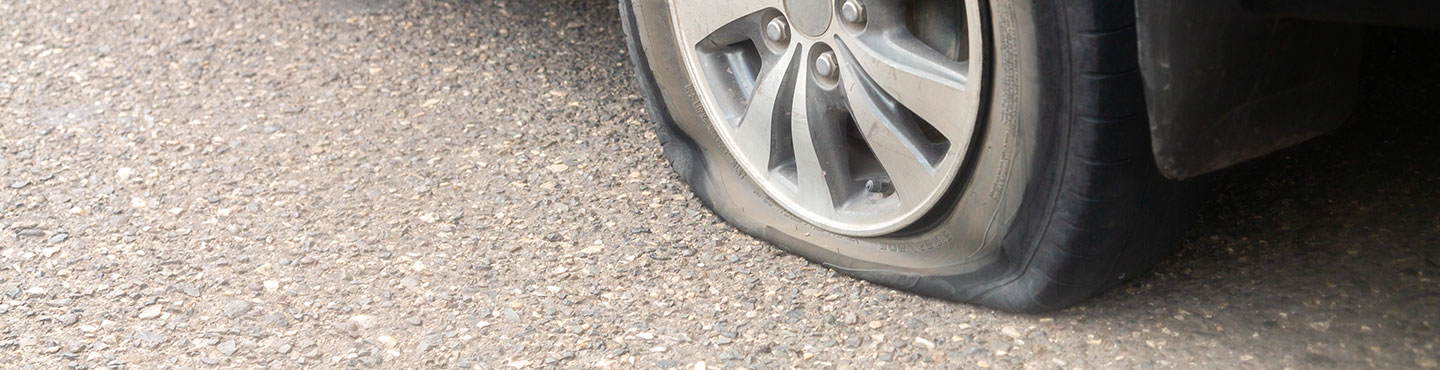
- There is damage to your tyre: Tyres must be replaced if there are any punctures, cuts, bulges, exposed cords, or damage to the sidewall or bead.
Your tyres are old: Tyres naturally deteriorate over time. It is generally recommended to replace them every 5-6 years, and they should not be older than 10 years from the manufacturing date, regardless of tread depth. - They are on the same axle: For safe, consistent grip and stable handling, tyres on the same axle (both front or both rear) should always be replaced as a pair. Mixing tread patterns or conditions can affect balance, braking, and steering. When fitting new tyres, they should ideally go on the rear axle for better stability, especially in wet conditions.
What equipment do you need to change a tyre?
Before you get started, make sure you have the right tools on hand. Having the proper equipment not only makes the job easier, it keeps you safe, especially if you’re working at the roadside. It is always best to keep an emergency kit in the boot of your car!
You’ll need:
- Your car’s handbook
- Space saver tyre (or full-size spare)
- Jack
- Wheel brace
- Torque wrench
- Wheel chocks
- Wheel nut key (if you have locking wheel nuts)
If you’re changing a tyre roadside, also bring:
- Warning triangle
- Reflective jacket
How do you change a tyre?
Changing a tyre is straightforward once you know how. Follow these steps carefully to keep yourself safe and get back on the road quickly.
- Preparation
- Park safely: move the vehicle to a safe, flat and stable location away from traffic, ideally a layby, car park, or wide verge. Turn on your hazard lights to warn other drivers.
- Secure the vehicle: Apply the handbrake firmly and place wheel chocks (or heavy objects like large stones) behind the wheels to prevent rolling.
- Gather your tools: Make sure you have your jack, wheel brace, spare tyre, wheel nut key, torque wrench, and any roadside safety equipment.
- Loosen the wheel nuts
- Before lifting the car, slightly loosen the wheel nuts while the tyre is still on the ground.
- Use the wheel brace and turn each nut anticlockwise. Don’t remove them fully yet, just break the initial resistance.
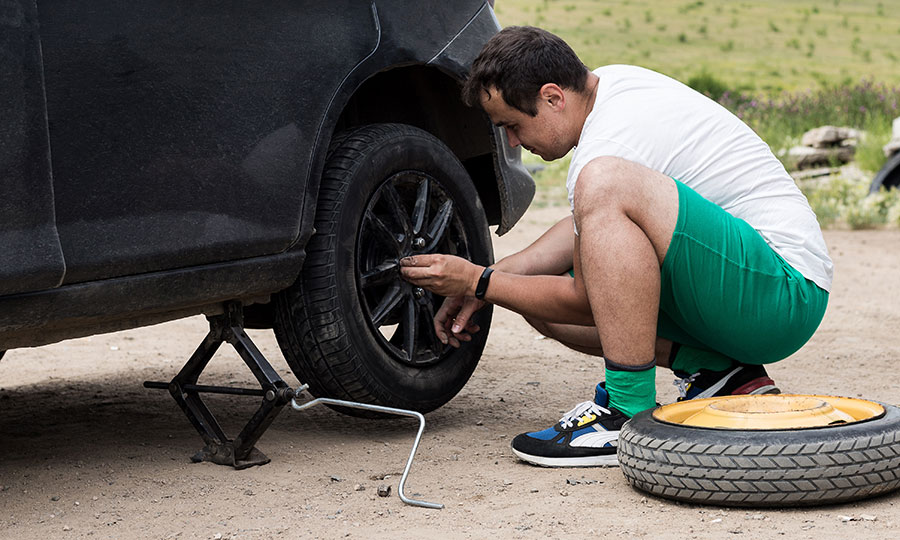
- Lifting the car & removing the tyre
- Position the jack: Place the jack under the correct jacking point nearest the wheel you’re changing. This will be shown in your vehicle handbook, usually marked with small arrows. Ensure the surface is flat, solid, and free from debris.
- Lift the vehicle: Raise the car until the tyre is completely clear of the ground.
- Remove the wheel
- Fully unscrew the loosened nuts and remove them (you may need to take off any plastic trims first).
- If your car has a locking wheel nut, use the key to undo it.Pull the flat tyre straight toward you and lift it off.
- As a safety precaution, slide the flat tyre under the vehicle – this gives you extra protection if the jack slips.
- Fitting the spare tyre
- Mount the spare: Align the spare tyre with the wheel bolts on the hub and push it firmly into place.
- Secure the nuts: Screw the wheel nuts back on by hand as tightly as you can. This keeps the wheel in position while lowering the car.
- Finishing up
- Lower the vehicle: Carefully lower the jack until the tyre is fully supporting the car again.
- Tighten the nuts properly: Use your wheel brace or torque wrench to tighten the nuts in a criss-cross (star) pattern. This ensures even pressure on the wheel.
- Fully lower and pack up: Remove the jack, collect your tools, and store everything securely back in your vehicle.
- Check the spare tyre pressure: Make sure the spare is inflated to the recommended pressure as soon as possible – especially if it’s a space saver, as these have speed and distance limits.
Common Mistakes You Should Avoid
- Don’t use a spare tyre as a long term replacement: Space-saver spares are designed for temporary use only. They offer limited grip, lower speed ratings, and reduced durability. Replace it with a proper tyre as soon as possible.
- Don’t change a tyre on uneven ground: If the vehicle isn’t on a flat, stable surface, the jack can slip. Always move to level ground before lifting the vehicle.
- Don’t forget to apply the handbrake (and wheel chocks if possible): Failing to secure the vehicle can cause it to roll slightly while jacked up, creating a dangerous situation.
- Don’t ignore a slow puncture: A slow leak can be caused by more than just a small nail. It may signal rim damage, valve issues, or structural tyre problems. Address it early to avoid sudden failure on the road.
- Don’t lift the car at the wrong jacking point: Using the incorrect lifting point can bend the chassis or cause the jack to slip. Always follow the vehicle’s manual
The good news: you might not need a new completely new tyre…
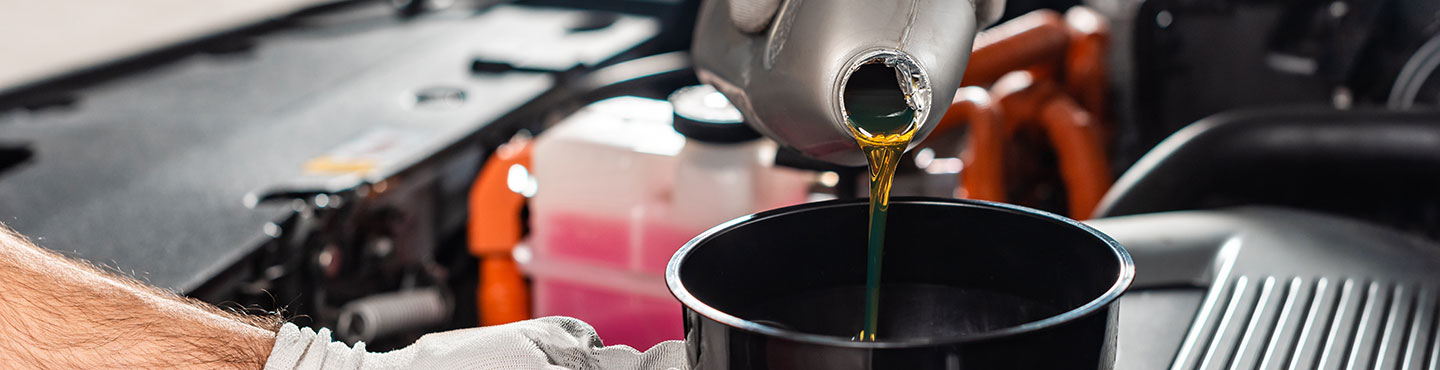
Sometimes its not always necessary to replace the whole tyre if you have a puncture. Small punctures in the tread can often be repaired rather than swapped out completely. You can either get this done at a garage or can even do a temporary fix yourself using a plug kit or tyre sealant to patch it up. It is important to note that DIY repairs are only suitable for minor holes in the tread area. Anything larger, or any damage to the sidewall should be checked by a professional, like us, to keep things safe. Let’s show you how we fix a tyre puncture:
Why choose Vasstech for your tyre needs?
If you’d prefer to leave it to the experts, why not bring it into the garage instead? If you’ve noticed your tyres starting to wear down, feel less grip on the road, or spot any damage, it’s always best to have them checked by professionals. At Vasstech, we supply and fit high-quality, VAG-approved tyres designed specifically for Volkswagen, Audi, SEAT, and Škoda vehicles, ensuring your car gets exactly what it needs to perform safely and efficiently.
Pop into Vasstech or give us a call to book a tyre replacement or puncture repair. Our team is ready to help keep you safe on the road and ensure your car is performing at its best, no matter what catastrophes your tyre throws at you.
Related Guides